
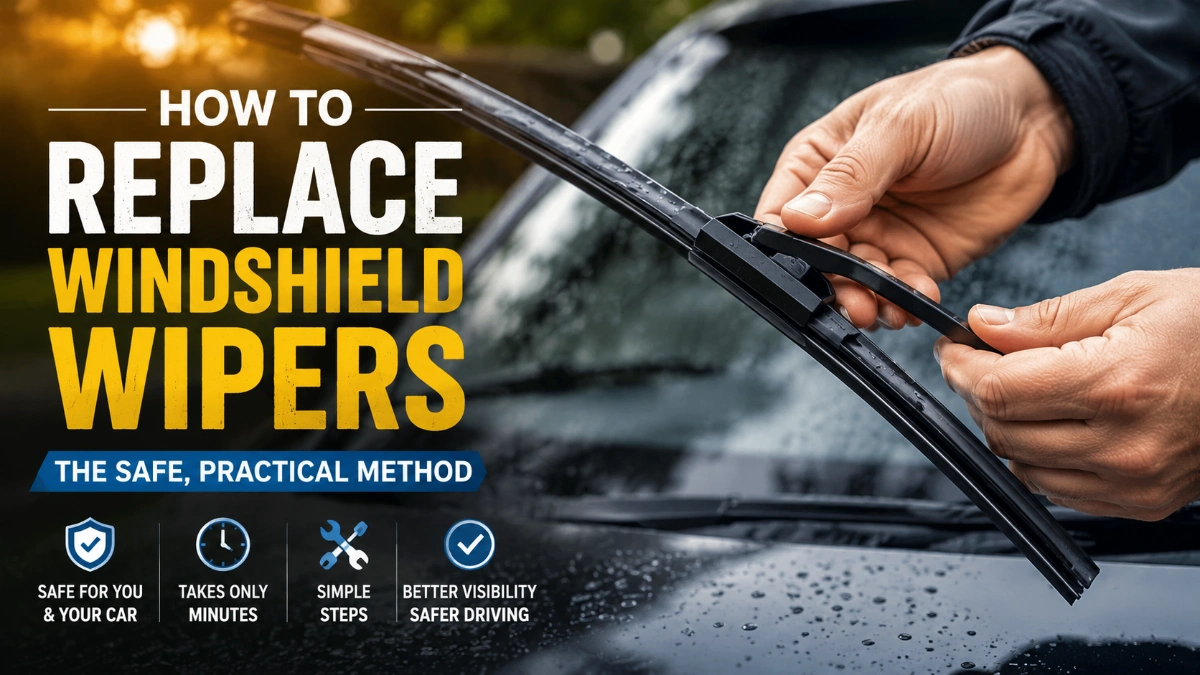
how to replace windshield wipers: The Safe, Practical Method
Begin With the Problem
You may need new blades if the windshield is left with streaks, smears, skipped patches, squeaking, chattering, or visible cracks in the rubber. Replace them when they reduce clear visibility rather than waiting for them to fail completely
Heat, sunlight, freezing weather, and regular use can shorten rubber-blade life. Inspect both front blades at the same time; when they are equally worn, replacing the pair is usually the sensible choice.
Confirm What Fits
Before learning how to replace windshield wipers, identify the exact parts your vehicle requires. The owner’s manual is the best starting point because it can list approved part numbers, blade lengths, and vehicle-specific replacement instructions.
| Item to verify | Reason |
| Driver-side length | It may differ from the passenger-side blade |
| Passenger-side length | Wrong size can reduce coverage or interfere with the other blade |
| Rear-blade specification | Rear systems commonly use a different blade and fitting |
| Connector/adapter | The blade must lock securely to the wiper arm |
| Blade assembly or insert | Your vehicle may use a complete blade or a replaceable refill |
A retailer’s vehicle-specific lookup can help confirm compatibility. Use an old blade only as a visual comparison—not as proof that the size or connector is correct.
Set Up Safely
Park on level ground, turn the wipers off, and clear loose dirt, snow, or ice from the windshield. Prevent rain-sensing wipers from activating while you work.
Put Wipers in Service Position
Some cars park their wipers below the hood line, so the arms cannot be raised normally. If this applies to your car, use the service-position procedure in the owner’s manual; depending on the vehicle, it may use an ignition sequence, wiper-stalk command, or settings control.
Never pull an arm past its intended range or force it past the hood. If it will not lift freely, return it to the glass and verify the correct procedure.
Guard the Windshield
Place a folded towel beneath the arm before taking the blade off. The arm is spring-loaded, and a bare arm that snaps down can scratch or crack the windshield.
Work on one blade at a time. Keeping the other blade attached gives you a quick reference for the new blade’s direction and position.
Recognize the Connector
There is no single universal release motion. Look at the current blade joint, identify the fitting, and follow the instruction sheet that came with the exact replacement blade.
| Common fitting | What you may see | General method |
| J-hook | Curved hook at the arm end | Release its tab or latch and slide the blade free |
| Push button | Flat arm and a button near the joint | Press the button, then slide the blade in the required direction |
| Side pin | Pin on the side of the arm | Release the retainer, then slide the blade sideways |
| Bayonet/proprietary | Narrow arm, flat post, or unusual connector | Follow vehicle-specific and blade-package instructions |
The table is an identification guide, not a substitute for the manual. Stop if the new adapter does not match, the fitting does not release with normal hand pressure, or the blade must be forced.
How to replace windshield wipers Step by Step
Lift the First Arm
Raise one arm only enough to access its connection. Keep hold of it as you work, even with a towel on the windshield.
If it is blocked or does not stay in an appropriate position, do not pry it. Recheck the vehicle’s service-position directions.
Detach the Old Blade
Turn the blade to expose the joint. Locate the locking tab, button, flap, or pin.
On many J-hook arrangements, you release the tab and slide the blade toward the arm’s base to remove it. Other fittings work differently, so use the instruction sheet for your blade and vehicle instead of trying to twist it free.
Match the New Part
Before you attach anything, compare the replacement with the old blade:
- Confirm it belongs in that front or rear position.
- Verify the length and connector orientation.
- Select only the adapter intended for your arm type.
- Remove only packaging explicitly marked as removable.
If the blade does not align with the arm using gentle hand pressure, stop and reassess the fitment.
Lock in the Replacement
The central step in how to replace windshield wipers is securing the connector. Align the new blade with the arm, then slide, rotate, or press it into the position specified for its fitting.
A click, visible lock, or firm stop often confirms engagement. While holding the arm, gently push and pull the blade; it must stay in place and should not travel along the connector. A loose blade can detach when the wipers run.
Return the Arm Gently
Guide the arm back to the windshield without letting it fall. Remove the towel, then repeat the process for the other side.
Use a separate procedure for a rear wiper. Its size, arm shape, and attachment may be different from the front system.
Verify the Result
After how to replace windshield wipers, inspect the parked blades before switching them on. Each blade should sit evenly against the glass, with no twist, gap, or loose joint.
Run washer fluid first, then operate the wipers at low speed. Look for a smooth sweep, clean clearing, normal parking, and secure attachment. If your car has multiple speeds, check another setting as well.
Stop immediately if a blade comes loose, strikes bodywork, parks incorrectly, or produces repeated mechanical noise.
Diagnose What Remains
| Symptom | First check | Appropriate next step |
| Loose blade | Locking tab and adapter | Remove and refit until it locks |
| Streaks or smears | Glass cleanliness and blade seating | Clean the glass; then inspect fitment |
| Chatter or skipping | Contact with the glass | Clean the glass and reseat the blade |
| Incomplete cleared area | Correct blade length | Confirm the vehicle-specific fit |
| Wipers do not move | Not normally a blade issue | Stop and arrange diagnosis |
| Bent/damaged arm | Arm condition | Do not force it; have it inspected |
A blade replacement can correct worn rubber or an incorrectly seated connection. It will not fix a failed motor, switch, fuse, linkage, or damaged arm, so those symptoms require a vehicle-specific assessment.
Prevent Early Wear
Once you understand how to replace windshield wipers, routine care helps the new blades last:
- Clean the windshield so grit does not drag under the rubber.
- Wipe the rubber edges gently with a damp cloth when dirty.
- Use washer fluid instead of dry-wiping a dusty windshield.
- Remove heavy snow and ice manually rather than using wipers as scrapers.
- Thaw blades that are frozen to the glass; do not pull them loose forcefully.
Know When to Stop
Stop the job and seek model-specific instructions or qualified help if the wipers will not reach service position, the arm looks bent, the blade will not release, or none of the supplied adapters fit.
The same applies when the wipers do not move, do not park normally, contact the vehicle body, or make persistent mechanical noises. At that point, how to replace windshield wipers is no longer only a blade-replacement task.
Check now: How to replace windshield wipers: Fit New Blades With Confidence
Frequently Asked Questions
Is replacing a wiper blade usually tool-free?
Often, yes. Many blade connections use hand-operated tabs or buttons, but a vehicle-specific design may require a simple tool or a different procedure.
Does blade length alone determine compatibility?
No. The connector, adapter, position on the vehicle, and whether the system uses a full blade or refill also matter.
Why are my wipers hidden beneath the hood?
Many vehicles use that parked position for aerodynamics or appearance. The owner’s manual may provide a service-position process that moves them up for maintenance.
Is a clicking sound enough to confirm installation?
A click is helpful, but also perform a gentle push-and-pull check while holding the arm. The blade should remain locked in place.
Why do fresh blades still streak?
The windshield may be dirty, the blade may be incorrectly seated, or the new part may not be compatible. Clean the glass and verify installation first.
Can I test blades on a dry windshield?
Use washer fluid for the test. Dry or dusty glass adds friction and can reduce wiping performance.
Should I force a tight connector?
No. A correctly matched blade should attach with controlled hand pressure. Recheck the adapter and instructions if it resists.
Do rear wiper blades install the same way as front blades?
Not always. Rear arms and connectors often differ, so use a rear-specific blade and instructions.
What if the wipers do not move after a blade change?
The fault may involve the fuse, switch, motor, linkage, or arm rather than the blades. Stop and seek a vehicle-specific diagnosis.